

Quick Answer : To put lights on a Christmas tree, test every strand first, then wrap in a steady spiral with 4 to 6 inches between turns, working in sections. Push some bulbs in toward the trunk for depth, join strands only within the limit printed on the box, and tuck the cord out of sight.
It is also important to know how to put lights on a Christmas tree. I have explained this in detail in today’s blog post, “How to Put Lights on a Christmas Tree (7 Easy Steps).” If you want to learn how to do it, scroll down and read the article. If you want to use the tool, you can find it below the article.
You’ve fluffed the branches, the box of lights is open, and you’re staring at a tangle that looks nothing like the neat strands in the photo. We’ve all been there. Knowing how to put lights on a Christmas tree comes down to a few small habits, and none of them need a ladder full of patience.
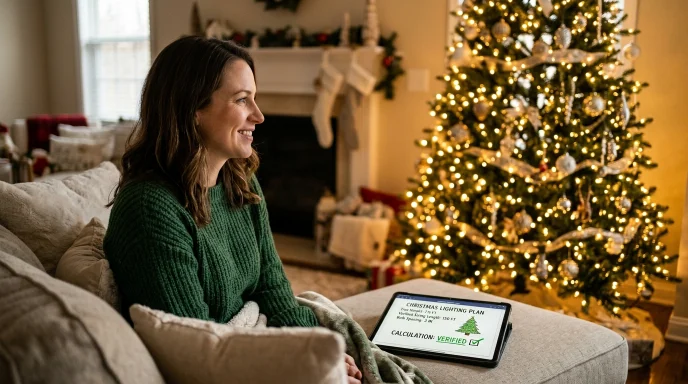
This guide walks you through seven simple steps, compares the three popular wrap methods, and covers the details that make a tree look polished: even gaps, hidden wires and safe connections. You’ll also find a quick checklist to run before you plug in.
Not sure you have enough lights yet? Work that out first with our Christmas tree light calculator, then come back and start wrapping.
How to Put Lights on a Christmas Tree: The 7 Steps
- Count your lights first. Running out halfway is the most annoying way to lose an hour. Check the chart in our guide on how many lights for a Christmas tree, or let the calculator do it. It takes about a minute.
- Test every strand. Plug each one in before it goes anywhere near the tree. It’s far easier to swap a dead strand on the floor than halfway up the branches.
- Set up the tree and plan the plug. Fluff the branches first, then place the tree so the outlet is within easy reach. Decide which side of the tree the cord will run down. The back is usually best.
- Choose a wrap method. Spiral, vertical or branch by branch? The next section helps you pick.
- Wrap in sections. Work around the tree in one direction. Measure the gap for your first turn, then eyeball the rest. After each section, step back and check for gaps before you move on.
- Join strands carefully. Plug the next strand into the end of the last one while both are still easy to reach. Only join as many as the box allows.
- Hide the cord and step back. Tuck the cord along the trunk or under the lower branches, then switch the lights on and look from across the room. Dark patches show up fast.
Spiral, Vertical or Branch by Branch: The Best Way to Put Lights on a Christmas Tree
There’s no single right answer. It depends on your tree and how much time you have.
| Method | How it looks | String used | Effort | Best for |
|---|---|---|---|---|
| Spiral around the tree | Even and classic | Moderate | Easiest | Most trees, first-timers |
| Vertical columns | Clean lines from top to bottom | Moderate | Medium | Slim and pencil trees |
| Branch by branch | Richest, most glowing look | Highest | Most time | Full trees and show-off displays |
The spiral is the pattern our calculator’s estimates are based on. If you weave lights along each branch instead, add extra strands, because the string follows a longer path.
How Much Light Do You Need Before You Start?
A standard 7 ft tree needs about 85 ft of mini lights, which is 3 strands of 100 bulbs. Go fuller and it’s 4 strands. Go lighter and it’s 2.
If you’d rather see every height from 3 ft to 12 ft, our chart on how many lights for a Christmas tree has it. For an exact number for your own tree, use the Christmas tree light calculator.
Tips for Putting Lights on a Christmas Tree Evenly
- Fluff the branches first. Lights sit better on a tree that’s already shaped.
- Measure once, then eyeball. Check your first gap with a tape measure. If you like a gap of 6 3/4 inches, Fraction to Decimal Pro turns it into 6.75.
- Go deeper, not just outside. Tuck some bulbs closer to the trunk. The tree glows from within instead of looking flat.
- Keep the bulbs matched. Use the same bulb type and the same shade of white throughout. Warm and cool white side by side looks uneven.
- Take a helper. One person wraps, the other walks around and calls out gaps.
- Lights first, then the rest. Add garland and ornaments after the lights are on and working.
How to Hide Wires and Join Strands Safely
A green cord on a green tree almost disappears, especially if you run it along the trunk and under the lowest branches. For the join points, keep them near the trunk where they’re easy to reach and hard to see.
Safety matters more than looks. Follow the maximum connection limit printed on the box, and don’t overload an outlet or power strip. Check cords for cracks or frayed spots before use, and turn the lights off when you leave the house or go to bed. The U.S. Consumer Product Safety Commission holiday safety guide has more detail.
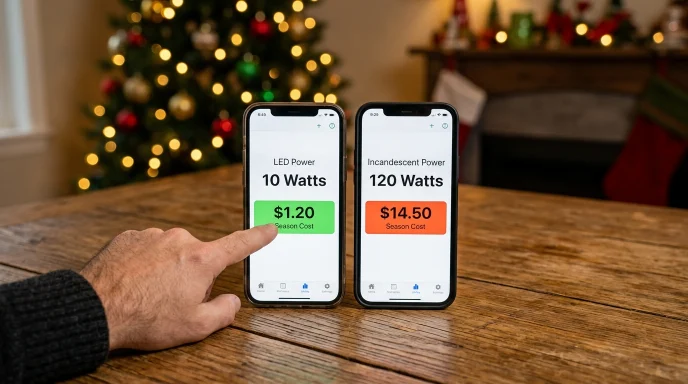
Wondering what the lights cost to run? Our guide on how much electricity Christmas tree lights use shows LED and incandescent side by side.
Common Mistakes When Putting Lights on a Christmas Tree (and a Checklist)
- Skipping the test. A dead strand discovered at the end means unwrapping the lot.
- Starting without enough lights. Count first, then wrap.
- Pulling the cord tight. It makes uneven gaps and can strain the plug end.
- Ignoring the connection limit. It’s printed on the box for a reason.
- Mixing white shades. Warm and cool white look mismatched.
- Hiding the plugs deep in the branches. You’ll need to reach them if something goes dark.
Before you plug in:
- Every strand tested and working.
- Cord run down the back and tucked away.
- Connections within the limit on the box.
- Outlet and power strip not overloaded.
- Gaps checked from across the room.
How to Put Lights on a Christmas Tree: FAQs
Should I start at the top or the bottom? Either works. Pick one direction, keep the plug end near the outlet, and work in sections so you can fix gaps as you go.
How far apart should the wraps be? A gap of 4 to 6 inches suits most trees. Go for about 8 inches for a lighter look and 3 inches for a very full one.
Should I wrap the whole tree or each branch? Wrapping the whole tree in a spiral is quickest. Wrapping branch by branch gives a richer look but takes more string and more time.
How many strands can I connect together? It depends on the strand. Check the box and never go past the maximum printed there.
Should lights go on before or after ornaments? Before. Lights first, then garland, then ornaments.
What if part of the tree goes dark? Unplug it first. Check that every plug is pushed fully into the next strand. If a section stays dark, swap in a spare strand.
Conclusion
Learning how to put lights on a Christmas tree isn’t hard, but a few habits make the result look professional: test first, wrap in sections, keep the gaps steady and hide the cord. Count your lights before you start so you never run out, and keep to the connection limit on the box.
Do you prefer the classic spiral or the glow of branch by branch? Try one this weekend and see how it looks from across the room.
Disclaimer: this guide is for information only. Always follow the instructions and safety information printed on your light packaging.
About the author: Waseem Aijaz builds and checks every tool on Get Calc Base. He’s a WordPress developer and SEO specialist with an M.Sc in Mathematics, a part-time teacher, and has 10 years in web work. Connect on LinkedIn.